/
Configuring Outlook for UAlbany Mail
Configuring Outlook for UAlbany Mail
Action
To set up your UAlbany Mail account in Outlook on Windows, follow the instructions below.
Instructions
Open Outlook.
The following screen will come up automatically. It may have your UAlbany Mail email address filled in. If not, enter it and click Connect.
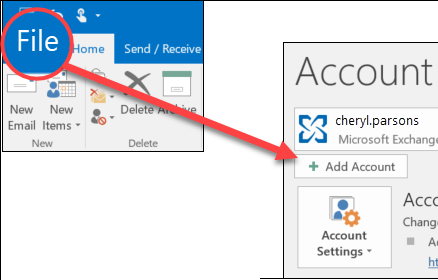
If that screen did not come up automatically, select File > Add Account to bring it up:
- If prompted, click Office 365:
- The University login page will appear and you may enter your NetID, the first part of your email address (before the @albany.edu) or your full UAlbany Mail email address as your user name and password then click Sign In.
- Complete your 2-step authentication.
Outlook will let you know when the account has been successfully added. Click Done to finish.
- If prompted, enter your password again, then select OK > Finish to start using your email account in Outlook.
Outlook is now configured.
, multiple selections available,


